Backstitch
Also known as Back stitch
A solid line of short, even stitches, each worked backwards to meet the end of the one before. It is the go-to stitch for outlines, lettering and fine detail.
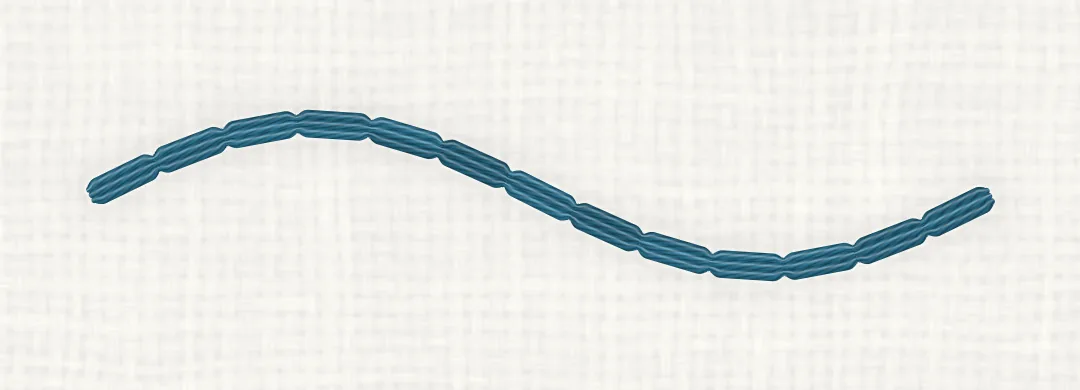
Quick facts
- Type
- Line stitch
- Best for
- Outlines, Lettering, Fine details
- Difficulty
- Beginner (1 of 3)
- Strands
- 2–3 for most lines; 1 for fine detail, 4 or more for a bold line (of six-strand floss)
- Needle
- Embroidery (crewel) needle, size 7–9
- Stitch length
- 2–3 mm (about 1/8 in); 1–2 mm (1/16 in) on tight curves
- On curves
- Yes, with shorter stitches on tight curves
- Related
- Stem stitch, Split stitch, Running stitch, Whipped backstitch
Step by step
Shown right-handed, worked from left to right with the stab method in a hoop: the needle goes straight down through the fabric, then straight up, one movement at a time.
Make the first stitch
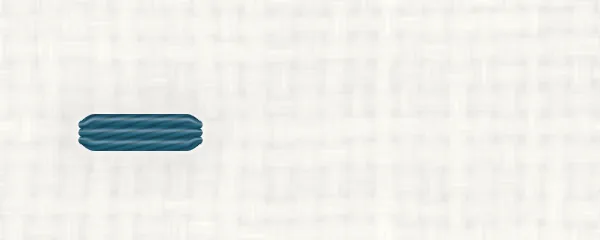
Bring the needle up at 1, a stitch length of 3 mm (1/8 in) along the line from its start. Take it down at 2, at the start of the line. That is your first stitch.
Go back into the same hole
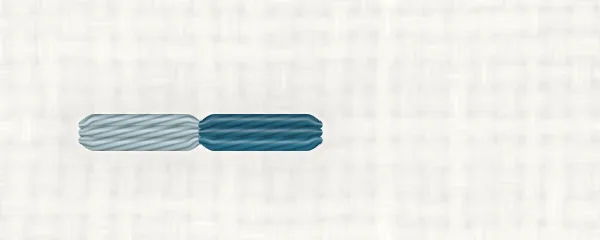
Come up at 3, one stitch length further along. Go back down at 4, into the same hole as 1, so the second stitch meets the first end to end.
Keep going
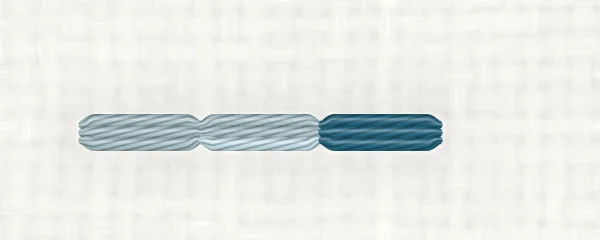
Repeat: come up one stitch length ahead (5) and go back down into the end of the last stitch (6). Keep every stitch the same length.
Finish the line
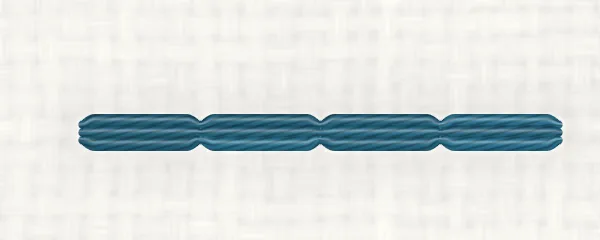
Stitch to the end of the line and take the thread to the back. Turn the work over, weave the thread under the backs of three or four stitches and trim it.
Shown left-handed, worked from right to left with the stab method in a hoop. The pictures are the right-handed ones turned half a turn, so the stitch is exactly the same.
Tips
- Keep the stitches even. 2–3 mm (about 1/8 in) suits most lines; shorten them to 1–2 mm (1/16 in) on tight curves, so the curve stays smooth instead of angular.
- Always go back into the very end of the last stitch, in the same hole. Coming down short of it leaves gaps; going past it makes the stitches overlap and bulge.
- End a stitch exactly on each corner or point, then start the next stitch from that hole, so corners stay sharp.
- In lettering, finish off and start again rather than carrying the thread across the back from letter to letter: long threads on the back show through light fabric.
- With the sewing method (fabric in your hand or a loose hoop), take the needle in at each even number and out at the next odd number in one movement.
- As a hidden edge under satin stitch, stitchers disagree on whether backstitch or split stitch is better. We recommend split stitch, which gives a smoother ridge, but backstitch works too.
Common mistakes
Gaps between stitches
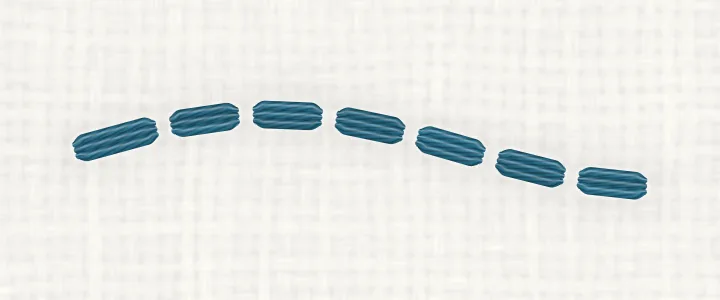
Looks like: The line looks dashed, with bits of fabric showing between the stitches.
Why it happens: Each stitch went down just short of the end of the one before, instead of into the same hole.
Fix: Go back down into the exact hole where the last stitch came up.
Uneven stitches
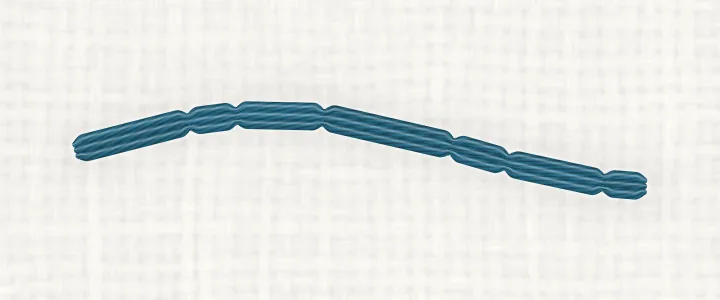
Looks like: Some stitches are long and some short, so the line looks lumpy.
Why it happens: Each stitch length was judged afresh by eye.
Fix: Choose a length and keep to it. For a tricky design, mark small dots along the line first and stitch from dot to dot.
Angular curves
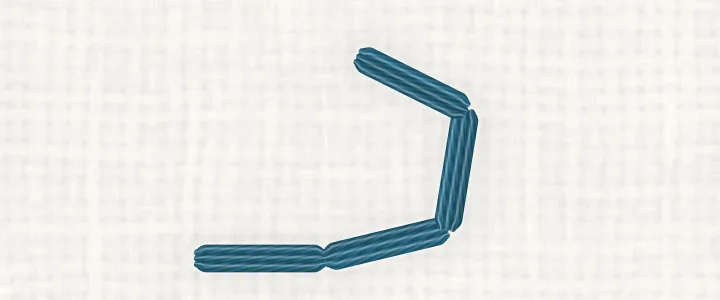
Looks like: A curve turns into a row of straight sides, with a corner at each hole.
Why it happens: The stitches are too long for the curve. Each stitch is a straight thread, so it cuts across the bend.
Fix: Shorten the stitches as the curve tightens: 1–2 mm (1/16 in) on tight curves.
The back of the work
The back of backstitch looks like a line of stem stitch: longer stitches, each overlapping the next by half its length, because the thread travels two stitch lengths forward on the back for every stitch it makes back on the front. It uses about twice as much thread on the back as shows on the front.
Variations
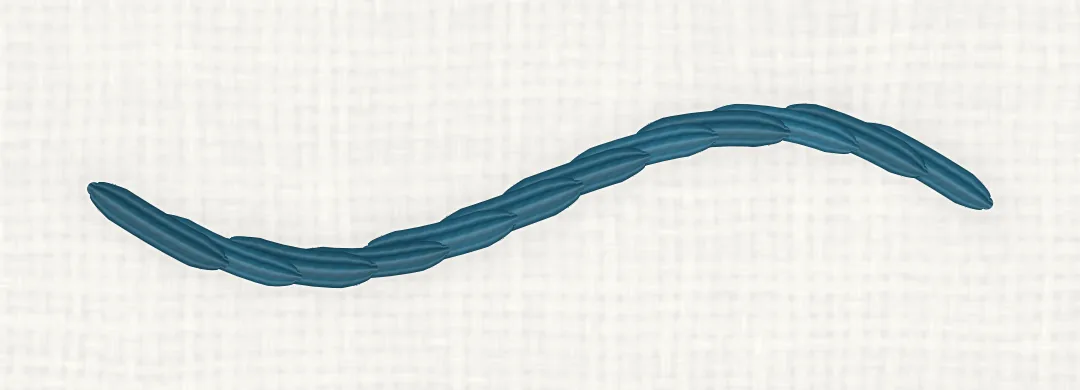
- Whipped backstitch: A second thread wrapped around each backstitch, without entering the fabric, turns the line into a smooth, raised cord.
- Threaded backstitch: A second thread woven up and down under the stitches makes a wavy line along the backstitch.
- Pekinese stitch: A second thread looped through the backstitches makes a braid-like border.
- Backstitch filling: Rows of backstitch, each offset by half a stitch from the row before, fill a shape with a fine texture.
Compare
Use backstitch for crisp outlines, corners and small lettering; use stem stitch for flowing curves, stems and script, where a smoother, rope-like line looks better. Stem stitch
In a Hoopsake pattern
Hoopsake turns your photo into a hand-embroidery pattern with a real stitch plan: it chooses a stitch such as backstitch for every line, matches each colour to a DMC thread and gives you a guide to print. Make a pattern from a photo
Names and history
Backstitch and back stitch are the same stitch, written as one word or two. The Royal School of Needlework also lists "hem stitch" as another name for it, which is easy to confuse with hemstitch, the drawn-thread technique for hems. Whipped, threaded and laced backstitch and Pekinese stitch all start as a line of backstitch.
Questions
How many strands should I use for backstitch?
Two or three strands of six-strand floss suit most outlines (the pictures here use three). Use one strand for very fine detail or small lettering and four or more for a bold line. More strands make a wider line, not a longer stitch.
How long should a backstitch be?
About 2–3 mm (1/8 in) on straight lines and 1–2 mm (1/16 in) on tight curves. Smaller stitches follow a design more closely; keeping them even matters more than their exact length.
What is the difference between backstitch and running stitch?
Running stitch leaves a gap after every stitch. Backstitch goes back to fill each gap, so the line is solid. Running stitch is quicker and lighter; backstitch gives a firm, continuous line.
Should I use backstitch or stem stitch for outlines?
Backstitch for crisp outlines, corners, small lettering and details; stem stitch for flowing curves, plant stems and script, where its rope-like line is smoother.
Which way should I work backstitch?
Either way. Our diagrams show right-handers working from left to right and left-handers from right to left, with the stab method in a hoop. What matters is going back into the end of the last stitch every time.