Whipped backstitch
Also known as Whipped back stitch
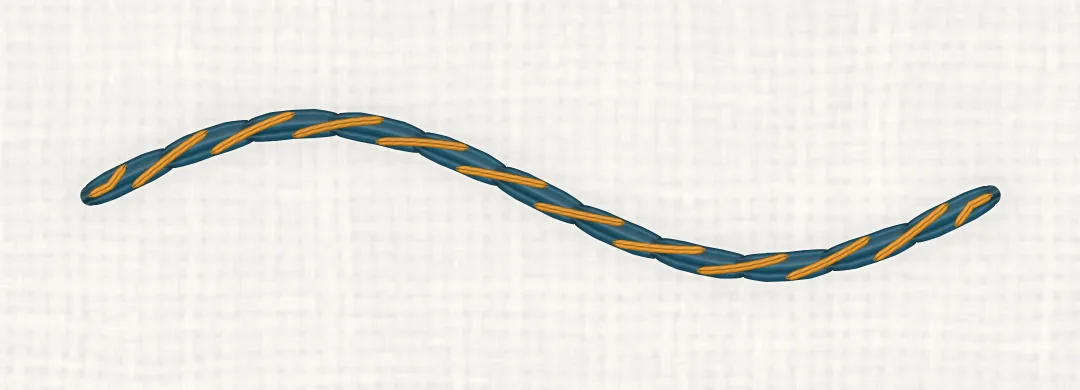
A line of backstitch wrapped with a second thread that passes under each stitch without entering the fabric. It makes a smooth, raised cord, or a candy stripe in a contrasting colour.
Quick facts
- Type
- Line stitch
- Best for
- Bold outlines, Lettering, Tight curves
- Difficulty
- Easy with practice (2 of 3)
- Strands
- Foundation 2–3; whipping 2–3, in the same or a contrasting colour (of six-strand floss)
- Needle
- Embroidery needle for the foundation; a blunt tapestry needle, size 24–26, to whip
- Stitch length
- Foundation stitches about 3 mm (1/8 in), a little looser than plain backstitch
- On curves
- Very good: the wrapping smooths over the joins
- Related
- Backstitch, Running stitch, Stem stitch
Step by step
Shown right-handed, worked from left to right: the backstitch foundation with the stab method in a hoop, then the whipping, which stays on top of the fabric. The whipping is shown in a contrasting colour.
Work the foundation
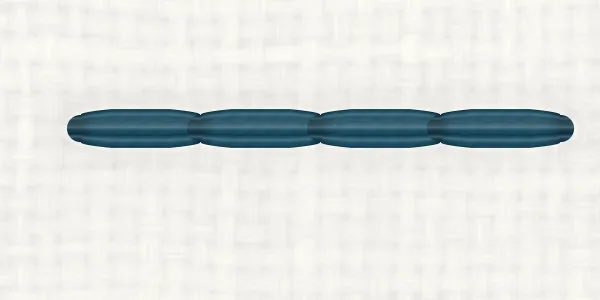
Work a line of backstitch with stitches about 3 mm (1/8 in) long, not pulled tight, so a needle can pass under them.
Bring up the whipping thread
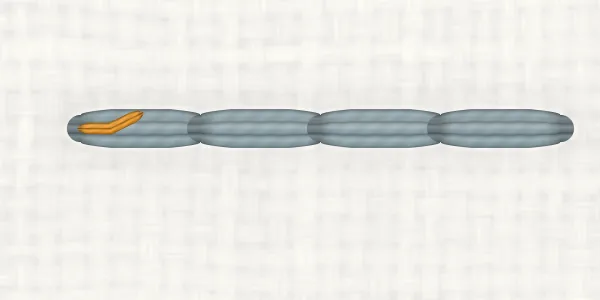
Thread a blunt tapestry needle with the second thread and bring it up at 1, at the start of the line, beside the end of the first stitch. Pass the needle under the first stitch from above the line, without going into the fabric.
Wrap every stitch
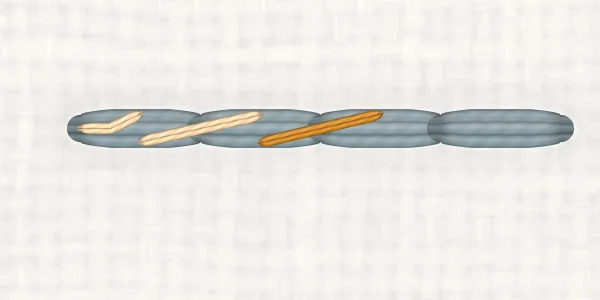
Pass the needle under the next stitch, and the next, always from above the line, without catching the fabric or splitting the foundation. Let each wrap lie snugly without pulling the line tight.
Finish
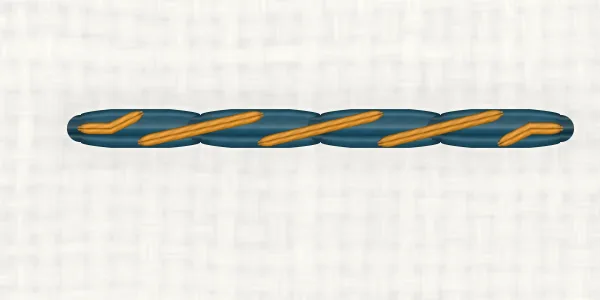
After the last stitch, take the whipping thread down at the end of the line, close under the last stitch, and secure both threads on the back.
Shown left-handed, worked from right to left: the right-handed pictures turned half a turn, so the stitch is exactly the same. The whipping is shown in a contrasting colour.
Tips
- Use a blunt tapestry needle to whip: it slides under the stitches without splitting them or catching the fabric.
- Always pass under the stitches from the same side, so every wrap slants the same way.
- Make the foundation stitches a little longer and looser than usual, so the needle passes under them easily.
- Use the same colour for a smooth cord, or a contrasting one for a candy-stripe line.
- Don't pull the whipping tight: it should wrap the stitches, not bunch them.
- It gives a raised line on fabric too fine for a heavy thread, and smooths lettering and tight curves.
Common mistakes
Wraps that change direction
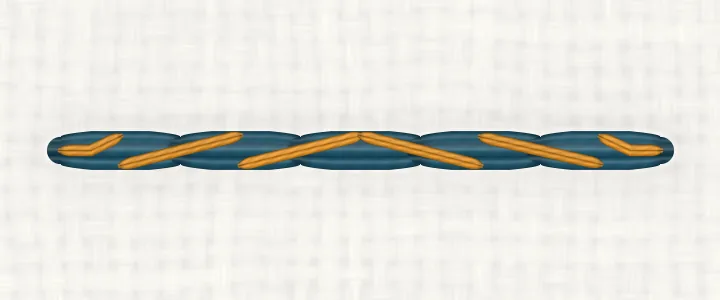
Looks like: Some wraps slant one way and some the other, so the cord breaks up.
Why it happens: The needle passed under some stitches from one side and others from the other.
Fix: Always pass under the stitches from the same side.
Caught fabric or split stitches
Looks like: The whipping dips into the fabric or snags, and the line looks lumpy.
Why it happens: A sharp needle pierced the fabric or the foundation thread.
Fix: Use a blunt tapestry needle and slide it between the foundation and the fabric.
A foundation too tight to whip
Looks like: The wraps bunch up, or the needle won't pass under the stitches.
Why it happens: The foundation stitches are too short or pulled tight.
Fix: Make them a little longer and looser.
The back of the work
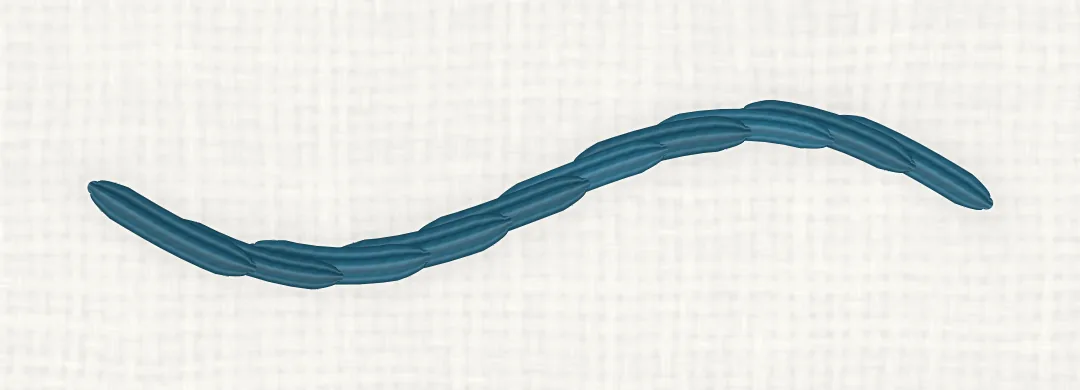
The whipping stays on the front, so the back is the back of the backstitch foundation: longer stitches overlapping by half, plus the whipping thread's two secured ends.
Variations
- Whipped running stitch: The same wrapping over running stitch makes a lighter, twisted line.
- Whipped stem stitch: Wrapping stem stitch makes a very smooth, rounded cord.
- Threaded backstitch: Instead of wrapping, the second thread weaves up and down under the stitches in waves.
Compare
Use whipped backstitch for a smoother, bolder, raised line than backstitch alone, or for a two-colour stripe; plain backstitch is finer and quicker. Backstitch
In a Hoopsake pattern
Hoopsake turns your photo into a hand-embroidery pattern with a real stitch plan: it chooses a stitch such as whipped backstitch for every line, matches each colour to a DMC thread and gives you a guide to print. Make a pattern from a photo
Names and history
Also written whipped back stitch. It belongs to a family of line stitches built on a foundation of backstitch, with threaded and laced backstitch and Pekinese stitch.
Questions
Which needle should I use to whip?
A blunt tapestry needle, so it slides under the stitches without catching the fabric or splitting the thread.
Should the whipping be the same colour?
Either. The same colour makes a smooth cord; a contrasting colour makes a candy-stripe line.
Can I whip other stitches?
Yes: running stitch and stem stitch are often whipped the same way, and chain stitch can be too.