Couching
Also known as Couching stitch, Laid work
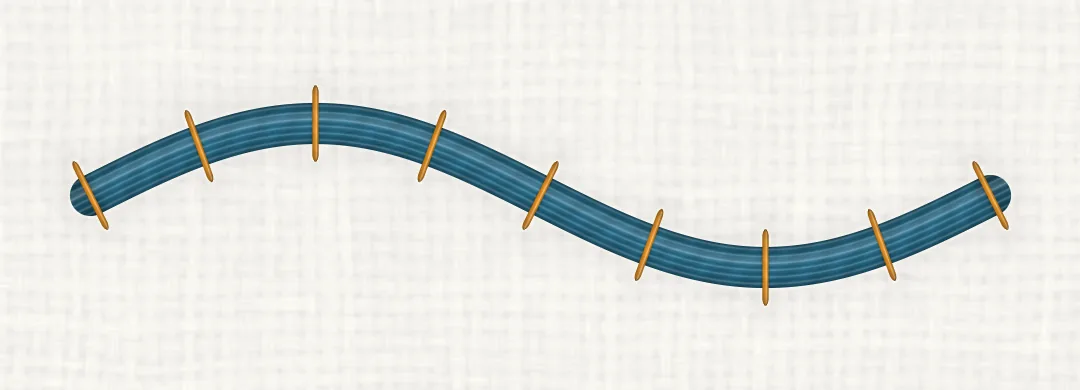
A thick, textured or metallic thread laid along the line and held down by small stitches in a second, usually finer, thread. It makes a bold line from threads that are too thick or fragile to stitch through fabric.
Quick facts
- Type
- Couched stitch
- Best for
- Bold lines, Thick or metallic threads, Smooth curves
- Difficulty
- Beginner (1 of 3)
- Strands
- Laid thread: 6 strands, perle or a thicker thread; tie-downs: 1–2 strands (of six-strand floss)
- Needle
- A large-eyed chenille needle to take the laid thread's ends through; an embroidery needle, size 9–10, for the tie-downs
- Stitch length
- Tie-downs every 3–5 mm (1/8–3/16 in), closer on curves
- On curves
- Very good: add tie-downs on curves
- Related
- Whipped backstitch, Chain stitch
Step by step
Shown right-handed, worked from left to right with the stab method in a hoop. The tie-downs are in a contrasting colour so they show; you would usually match them to the laid thread.
Lay the thread
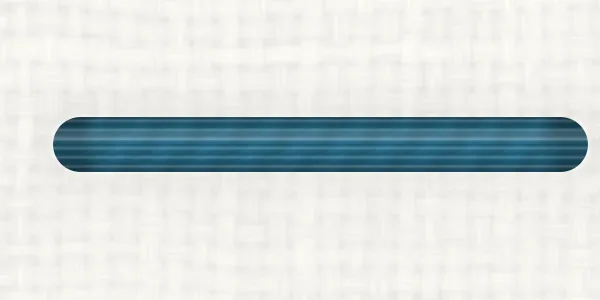
Bring the laid thread up at the start of the line, or leave a tail on top to take through later, and lay it along the line without pulling it.
First tie-down
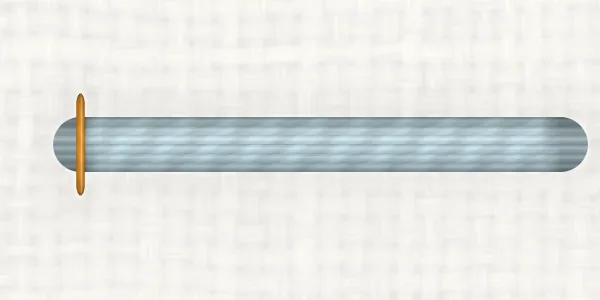
With the second thread, come up at 1, just beside the laid thread near its start, and go down at 2 on the other side, so the small stitch crosses it. Use separate holes for 1 and 2, or the tie-down can drag the laid thread into the fabric.
Space the tie-downs
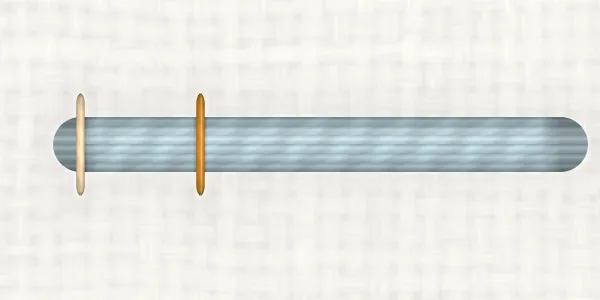
Come up at 3, a stitch length of about 3 mm (1/8 in) along, and go down at 4 on the other side. Keep the spacing even, and put the tie-downs closer on curves.
Plunge the ends
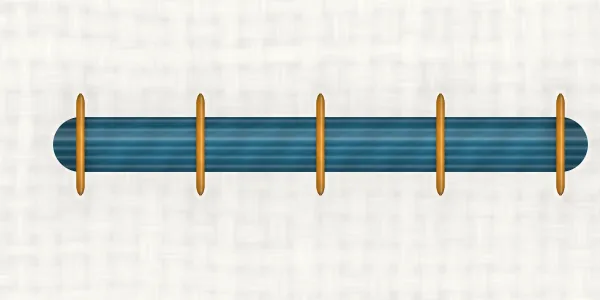
When the whole line is tied down, take each end of the laid thread through to the back with a large-eyed needle and secure it with the second thread. Don't trim the ends too short.
Shown left-handed, worked from right to left: the right-handed pictures turned half a turn. The tie-downs are in a contrasting colour so they show.
Tips
- Match the tie-down thread to the laid thread for an invisible hold, or contrast it for a decorative line.
- Tie-downs every 3–5 mm (1/8–3/16 in) suit most lines. None of the stitch dictionaries we checked gives a number: this is our suggestion, taken from textile-conservation practice.
- Put the tie-downs closer on curves, so the laid thread follows the line instead of pulling straight between them.
- More laid strands make a bolder line; a slightly slack laid thread gives a looser, textured look.
- Take the ends through with a large-eyed needle, and leave them long enough to secure on the back.
Common mistakes
Tie-downs too far apart on a curve
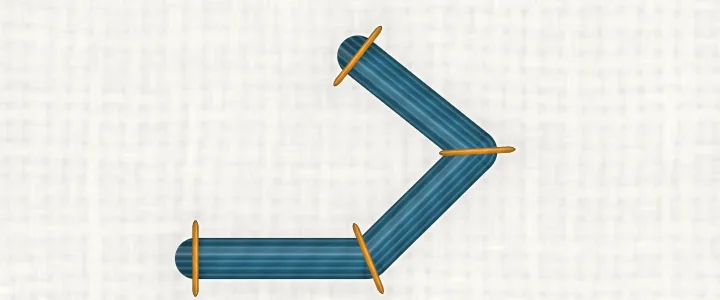
Looks like: The laid thread runs straight between tie-downs, cutting across the curve.
Why it happens: Too few tie-downs where the line bends.
Fix: Add tie-downs on curves, closer together the tighter the bend.
Tie-downs that disappear
Looks like: A tie-down sinks out of sight, or the laid thread is pulled into the fabric.
Why it happens: The tie-down came up and went down in the same hole.
Fix: Come up on one side of the laid thread and go down on the other.
The back of the work
The back shows only the tie-down thread's small stitches and the laid thread's two secured ends: the laid thread stays on the front, so couching uses very little of it. How the tie-down thread travels on the back is up to you, so we don't draw it; keep the travel short.
Variations
- Decorative couching: Tie-downs in a contrasting colour, or in shapes such as small cross stitches, become part of the design.
- Trellis couching: Long threads laid across a shape in a grid, held down where they cross, make an open filling.
Compare
Both make a bold, raised line. Use couching for threads too thick or fragile to stitch through fabric; use whipped backstitch with ordinary floss. Whipped backstitch
In a Hoopsake pattern
Hoopsake turns your photo into a hand-embroidery pattern with a real stitch plan: it chooses a stitch such as couching for every line, matches each colour to a DMC thread and gives you a guide to print. Make a pattern from a photo
Names and history
Couching is also listed as couching stitch, laid work, convent stitch and kloster stitch, though laid work usually means threads laid across a whole shape. Sources disagree on whether couching is one stitch or a family of techniques; here it is one technique with variations.
Questions
How far apart should couching stitches be?
About 3–5 mm (1/8–3/16 in) on straight lines, closer on curves.
What thread can I couch?
Almost any: all six strands of floss, perle, wool, ribbon, cord or metallic threads that would fray if stitched through fabric.
Should the tie-downs match?
Usually, so they disappear into the laid thread. A contrasting colour makes them part of the design.